

Slicer Manager
Overview
The Publication Slicer Manager is an interface to interconnect slicers to components, artifacts, dynamic text elements, sections and queries in Publications. The interface handles the wiring up of the data elements even if they are from different data models, in different databases, or on different servers.
Slicers provides the ability to create different variations of a published document by using different *SLICES* of the data, for example, customers, employees, departments, etc. In effect, the user is creating a template in Publications, and with the Slicer Manager, can manage how the document will be populated at runtime.
Once all the artifacts, dynamic text and sections have been added to the template, users can elect to attach one or more slices. This can produce hundreds and thousands of published report variations.
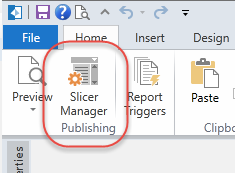
Accessing the Slicer Manager
You can find the Slicer Manager in the Home tab in Publications.
Using the Slicer Manager
When you click on the Slicer Manager icon, a pop-up window will appear presenting:
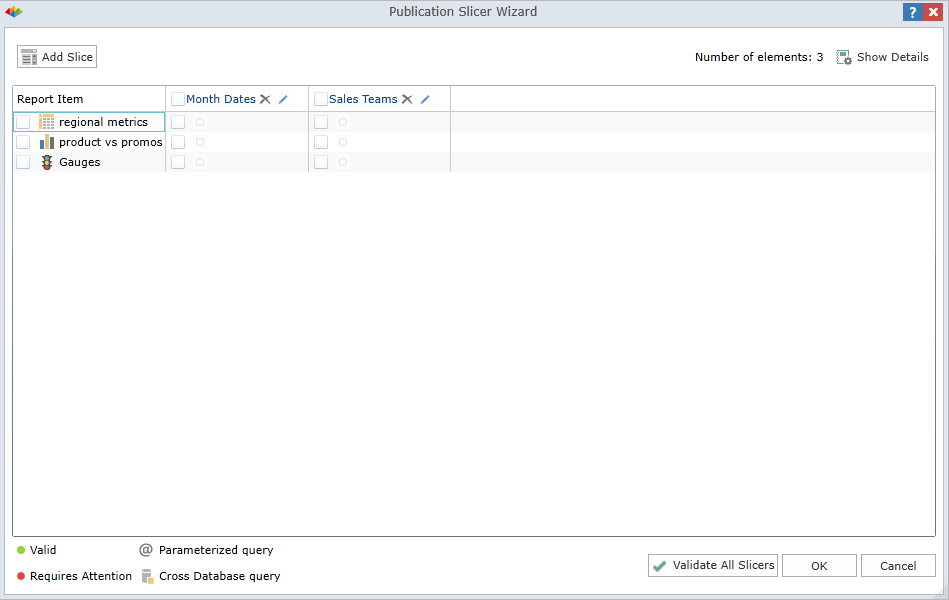
The components that have been added to the document will appear in the “rows” list of the main section and Slices will appear in the “columns” list.
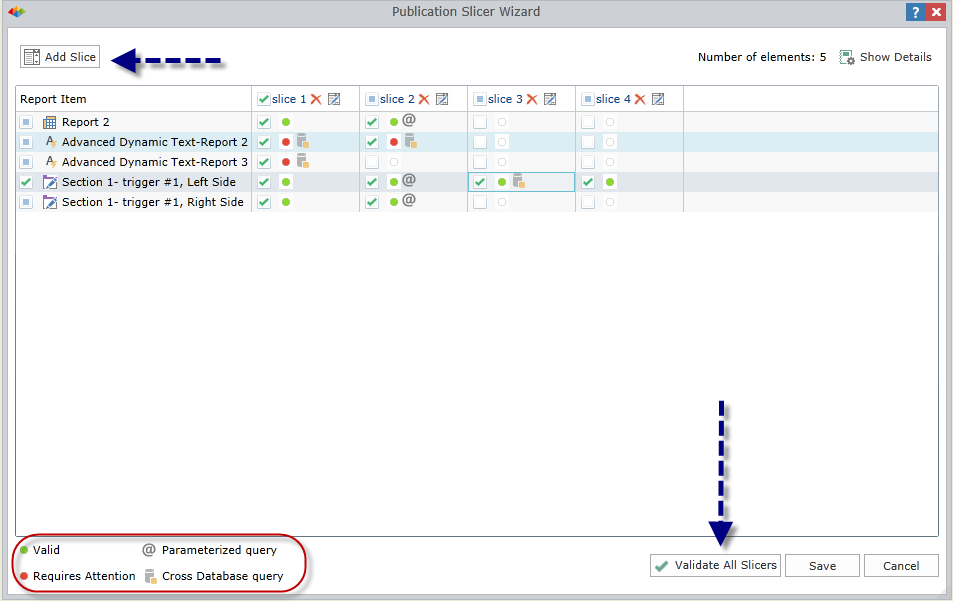
Click here to learn how to "Add Slice."
To enable the slicers for interaction, check the boxes within the grid on the intersecting columns and rows.
NOTE: If you would like to “Select all” for a component or slicer, then check the box next to the slicer’s name.
When you check off an interaction, a green or red light will be displayed as well as icons to depict the type of interaction: a parameterized or inter-cube interaction (outlined in red). If there is no icon, it is plain connection between objects from the same data source.
There are five permutations in which these icons can appear:
1. A green light means that the interaction is valid: No further steps are required, the interaction is successful.
2. A green light with the parameterized query icon: This means that the slice will interact with a parameter of the destination component. Clicking on the light will let you set the specifics of the interaction and ensure that the interaction is to the desired parameter.
3. A green light with an inter-cube interaction: This indicates a previously handled inter-cube interaction. No further steps are required, the interaction is successful.
4. A red light means that the interaction is not valid: the slice value will not propagate to the interacted component successfully. When rendered, the query will fail.
5. A red light with an inter-cube interaction icon: this means that the interaction needs your attention in order to ensure that the interaction will succeed. Click on the light to examine the issue further. Once the interaction has been clarified, it will turn green.
Slice Interactions Dialog
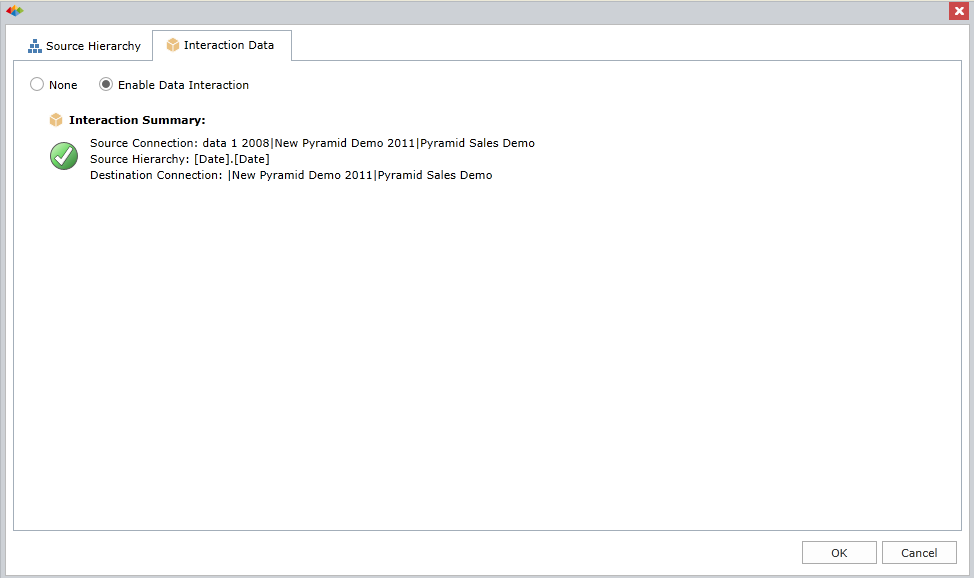
If you choose to view or edit interactions, you will be presented with the following interface:
1. There are two possible tabs displayed with slight variations based on which colors (and icons) you selected:
- Source Hierarchy – You can view and edit the Source Hierarchyץ
- Interaction Data – You can view the Interaction Dataץ
- You can Enable and Disable the Data Interaction.
- If you are clicking on a green light with an inter-cube interaction, then you can view the Interaction Summary.
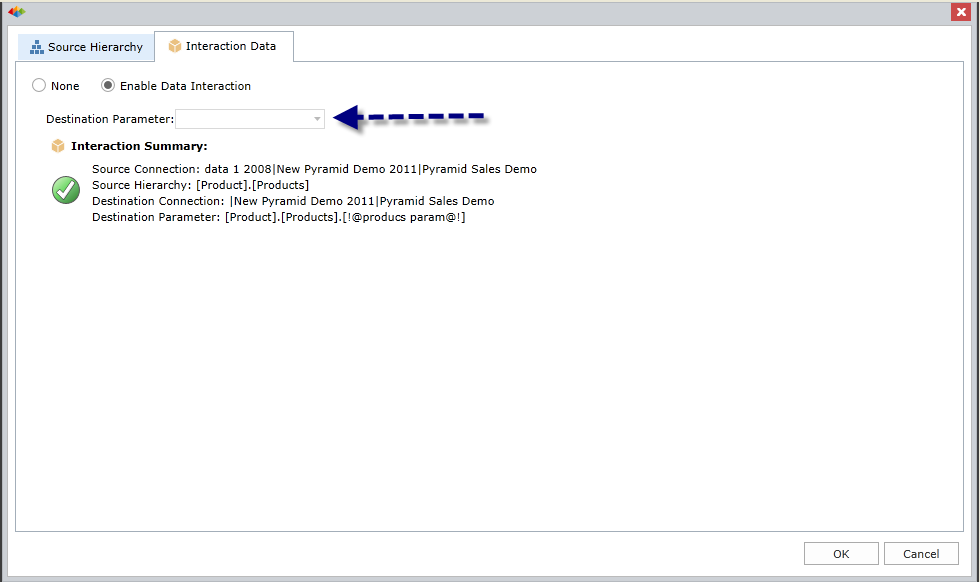
- If you are clicking on a green light with a parameterized query icon, you need to specify from the drop-down menu the desired parameter (indicated with the blue arrow).
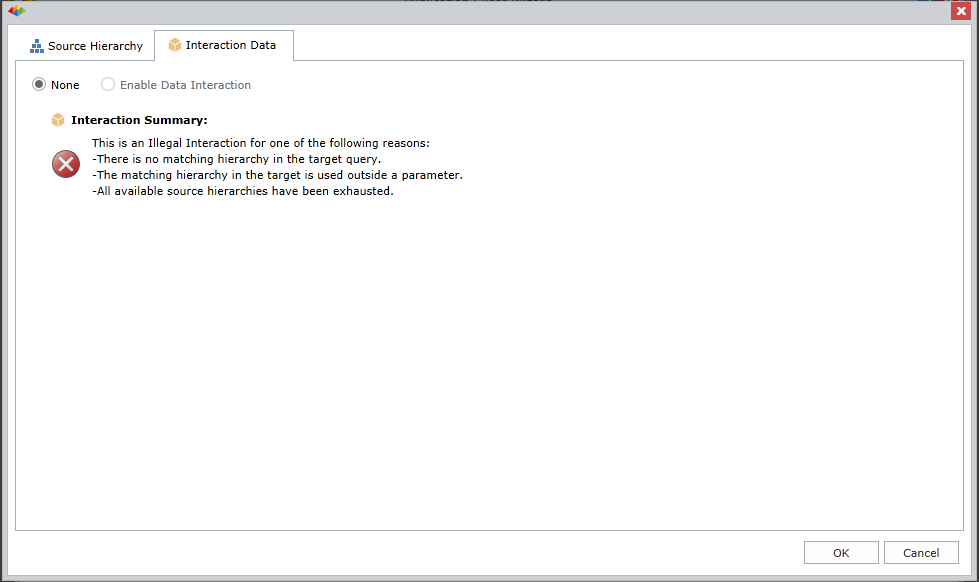
- If you are clicking on a red light (with no other icon present), you will be presented with an error message.
- If you are clicking on a red light with an inter-cube interaction, you have the opportunity to view and edit the interaction data.
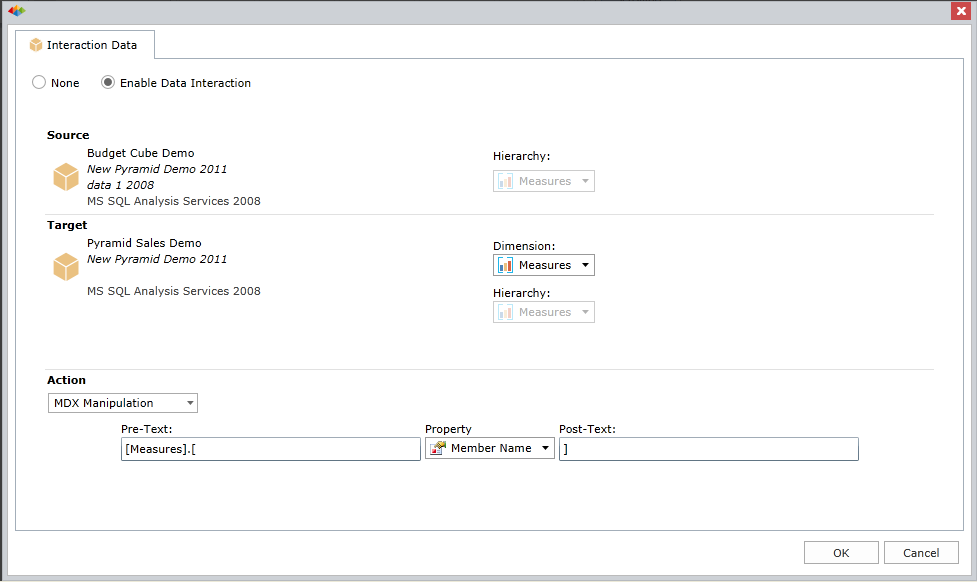
- You can set up the mapping of the source input selection to the relevant hierarchy in the target query (see image above).
- Target – You can specify the target dimension and hierarchy.
- Source – You can construct the mapping of the source value into that hierarchy. Two choices are offered:
- Pass-Through - The source element's "unique name" is passed through directly to the target query as is.
- MDX Manipulation – You can configure a text manipulation of the source element that suits the naming structure of the target cube's dimensions.
2. Once you have made your selections, and check the boxes where you want the interactions, click "Validate all Slicers" in the main Slicer Manager window. This will refresh the slices in case the cube has been modified.
3. Then, you can click "Save".
The interactions are now created.
Home |
Table of Contents |
Index |
User Community
Pyramid Analytics © 2011-2022